Friday 13 December 2013

Festive Food for Family and Friends.

Firstly, I would like to wish you all a very Merry Christmas and a prosperous and healthy New Year!
I hope my recipes have been useful in your own kitchens, and I will continue to bring you more in the new year.
During the Christmas season it's so nice to get together, but the last thing we want to do , is to end up in the kitchen all night , making food for everyone , while they all are having fun without you. So what I usually do is a good ham from a shop, maybe some cheese and pate too, and set up a self-service table with a few things I make myself. Easy way to claim all the credit with almost no effort made!
Here's a few ideas

  • Cheese and Fig Muffins with Pumpkin seeds and Rosemary
  • Pita Bread Parcels with grilled Haloumi and Tzatziki
  • Beetroot Salad with Horseradish Dressing
  • Mini "Toad in The Hole" bites       

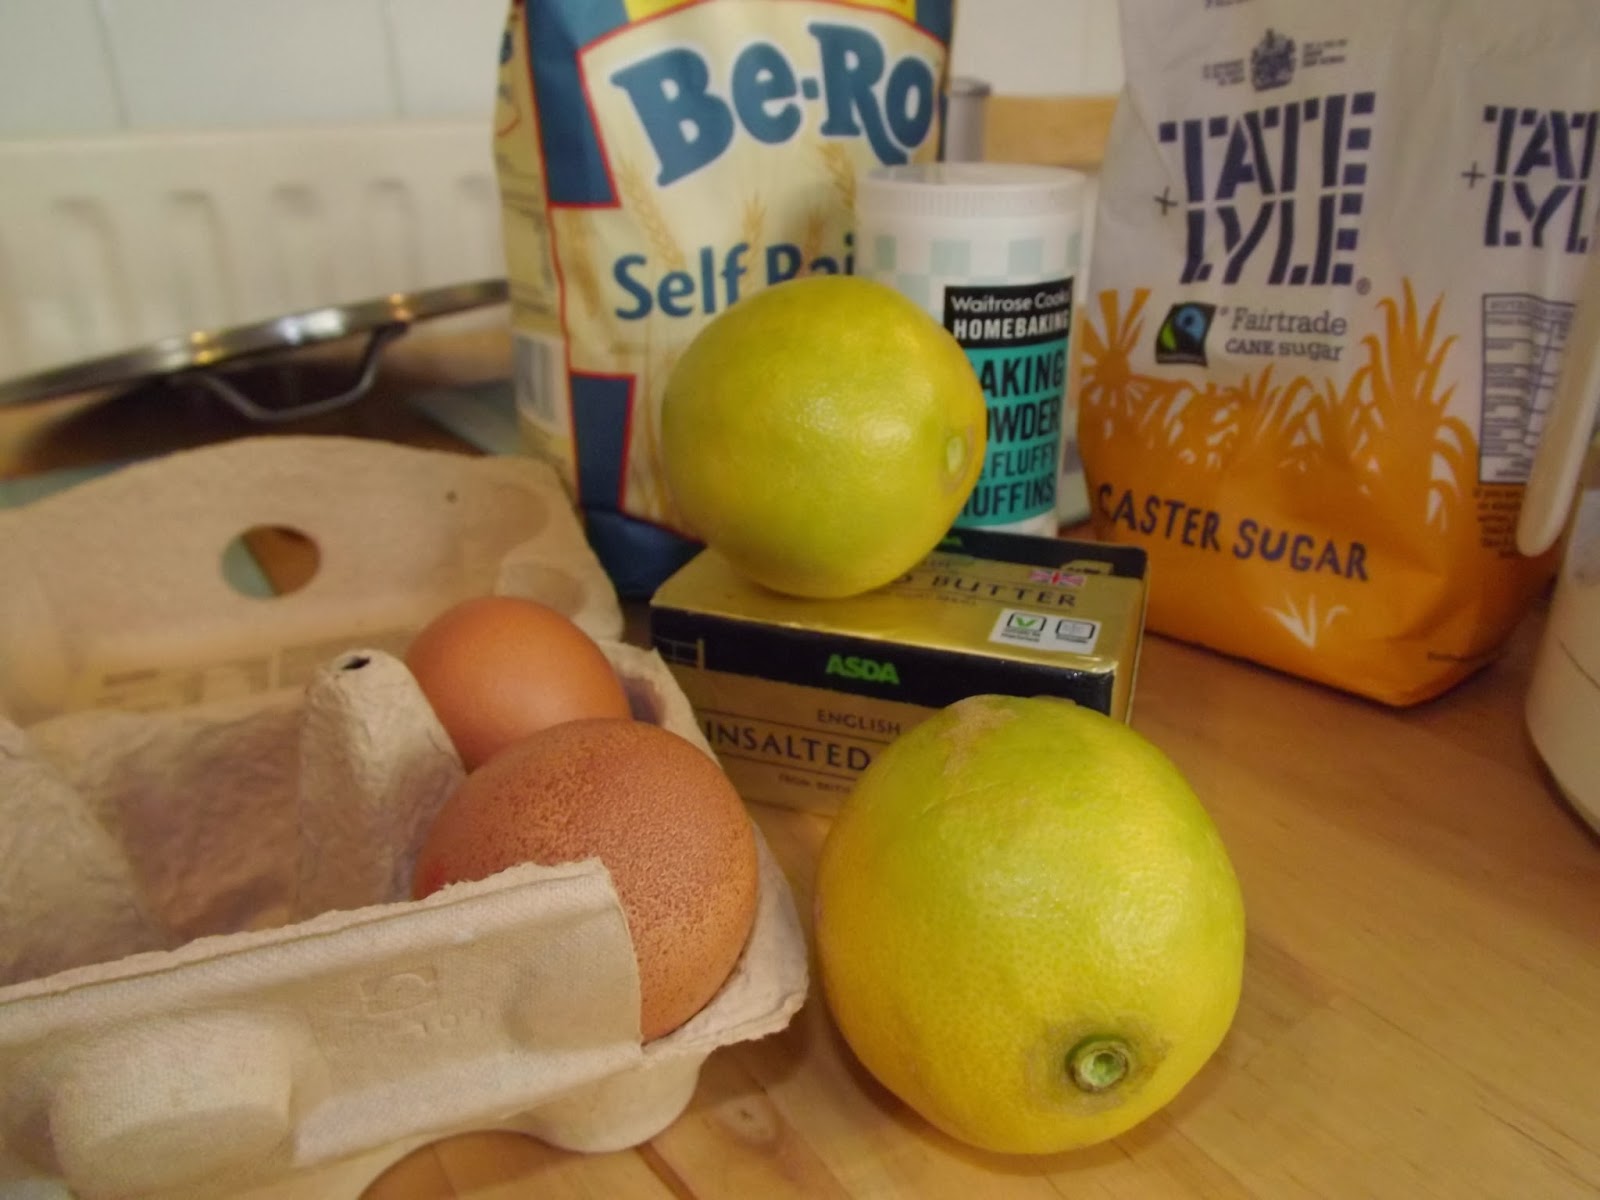
Cheese and Fig Muffins:
250gr plain flour
3tsp baking powder
1 tsp salt
1 tsp paprika
50 gr butter (softened)
1 egg 
250ml milk
50 gr grated parmesan cheese
100 gr soft goat cheese
2 tbsp chopped rosemary
4 figs (halved and sliced)
a small handful of pumpkin seeds
12 muffin cases
Preheat oven gas mark 4/180C.
Keep goat cheese, figs and seeds on the side for later.
Mix all the dry ingredients with butter.Whisk milk with the egg and stir in together with the dry ingredients. Spoon into the muffing cases (it's easier with the ice-cream spoon) and put a bit of goat cheese and figs and pumpkin seeds on top. Bake for 25-35 min., or until the skewer comes out clean.
Pita Parcels with Grilled Haloumi.
6 pita breads
500 gr haloumi
1 red pepper
1 tab of tzatziki
Wrap pita bread in foil and heat it up in the oven while the muffins are baking.
Grill haloumi cheese, chop a sweet pepper.
Cut the pita bread in two, open the parcels, fill up with haloumi, peppers and tzatziki.
Beetroot Salad with Horseradish Dressing.
This recipe is a slight deviation from something we used to make in Russia for holidays. The original recipe is full of garlic and mayonnaise, not that this one is any healthier , but the flavours are less offensive.
4 medium, cooked beetroot
3 dried apricots
a handful of toasted sunflower and pumpkin seeds
100 gr crumbled feta cheese (or blue cheese)
1 tbsp horseradish sauce
1 tbsp mayonnaise
Dice the beetroot, chop the apricots.
Mix all ingredients well.


Mini "Toad in the Hole"
2 large eggs
200 ml milk
a pinch of salt
150 gr plain flour 
4 good quality sausages, skin removed, chopped 
2 medium potatoes cooked, diced
Heat the oven gas mark 7/220C, use the baking tin for muffins, pour some oil in every hole and pop it in the oven to heat up.
Make the batter with eggs, milk, salt and flour.
Be careful taking the tin out of the oven, place some sausage and potato in every hole and top up with the batter.
Bake for 25 min.


Enjoy!
Happy Holidays!


Tuesday 10 December 2013

Black Forest Pudding Cups.

Inspired by something we currently have on our menu at work. Retro flavours work well for Christmas entertainment ideas. As usual, these are super easy to make and my advise is to make it in the morning and serve in the evening. Allow the cups to stand out of the fridge for about 10-15 min. before serving. Alcohol is purely optional, I used a small shot of whiskey for the chocolate and Creme de Cassis liqueur for the cherry compote.Decorate with mini meringues,macaroons or just a little whipped cream.I made 5 cups, but my desserts are super generous in size!
100 gr dark chocolate
30 gr unsalted butter
200 ml double cream
about 100 gr cherry compote or 1tbsp of cherry jam per cup
Creme de Cassis
a splash of whiskey or rum or brandy
1 heaped tbsp of icing sugar
a small packet of biscuits of your choice

Melt the butter and chocolate over the boiling water.
 
If you are using alcohol, at this time add a shot of whiskey to the chocolate.

Set the melted chocolate aside, allow it to cool down. 
Whip the cream with the icing sugar.
 
When the chocolate has cooled down, start pouring it gently into the whipped cream, whisking slowly as you do.


The chocolate mousse is ready. 
Now assemble the desserts.
 
I used different biscuits for the base, use the ones you prefer. Basically you need to layer: biscuits, cherry compote (with or without a splash of Creme de Cassis), chocolate mousse.


 Here you can see different stages of dessert construction.

 When all dessert cups are ready, cover with clingfilm and refrigerate for a couple of hours or , if desired , overnight.

 Take it out of the fridge a few minutes before serving, and decorate to your liking. I went to town with the edible glitter here!


Enjoy!


Sunday 8 December 2013

Savoury Mozzarella and Basil Pesto Bread and Butter Pudding.

I just love the recipes I can make ahead and cook on the day, which is especially handy when I have family and friends to entertain as well as to feed.The idea came from a Christmas Hollywood movie "The Family Stone", Sarah-Jessica Parker's character made a similar dish for her hosts. It all went terribly wrong in the movie,but who cares about that when we have a lovely recipe to make!
 I shall be making this for the Christmas morning this year and serving it with some smoked salmon and a bit of caviar! This recipe is enough for 4 adults , if you don't like fish, ham and salami go nicely with it too.
400 gr loaf of Brioche bread (crusts cut off)
50 gr butter (unsalted, softened)
250 gr grated cooking mozzarella
100 gr fresh basil pesto
4 eggs
400 ml double cream
fresh dill (a small bunch chopped)
2tbsp grated parmesan cheese
salt, pepper to taste


 Butter the dish, set aside.
Cut the bread into triangles and make butter and pesto sandwiches.

Arrange the pesto sandwiches in the dish and generously sprinkle the mozzarella on top.

 In a mixing bowl beat together the eggs and cream. Stir in salt, pepper , dill and grated parmesan.
Pour the mixture over the bread and allow the dish to stand in the fridge overnight.
In the morning , preheat the oven gas mark 4/180C . Bake for 20 minutes or until the top of the dish turns golden.
Serve hot with the festive accompaniments and plenty of coffee and Bucks Fizz!

 Enjoy!


Wednesday 13 November 2013

Winter Salad with Mackerel.

Easy, healthy and filling! Put it together for a hearty lunch or dinner. I use olive oil and lemon juice to dress the salad, but , please , feel free to use any salad dressing you like.This recipe is for 2 adult, main size portions.

2 soft boiled eggs
1 small tin of red kidney beans
2 tomatoes
4 small potatoes, cooked
a bunch of tender stem broccoli , cooked
2 fillet of hot smoked mackerel, torn into strips
a pinch of sea salt
juice of half a lemon
2-4 tbsp of good olive oil
Divide all the ingredients equally between two plates, arrange the eggs on top of the salad.
Dress with lemon juice and olive oil, sprinkle some sea salt if desired.
Enjoy.

Sunday 3 November 2013

Crunchy Juicy Lemon Cake.

I have been given a big bag of beautiful home-grown Spanish lemons recently by my friends (big thank you to A.and P.). The flavour, the smell are just perfect! So I have been enjoying a number of G&Ts so far, made a lemon vodka (if this works out , I shall put the recipe on),made some whole candied lemons and candied lemon peel in chocolate, and I still have a few lemons left! So I thought, what could be better after a hearty dinner , then a simple dessert , a lemon cake to be precise. This recipe will be enough for 8 adult portions, just double if you need more. You can keep it in the airtight container for a couple of days. A little tip: for a crunchy topping allow the cake to cool a bit , before pouring the lemon juice over it (too hot and the sugar will melt and go through it).
For the cake:
150 gr of self-raising flour
110 gr of softened unsalted butter (half a standard pack)
110 gr of caster sugar
1 tsp of baking powder
2 eggs
2 tbsp milk
zest of 2 lemons (unwaxed)
For the topping:
100 gr of regular sugar
juice of 2 lemons

This topping should be mixed very last minute, the sugar will dissolve if mixed beforehand.
I used my trusty old food processor with a blade setting.
Put all the cake ingredients in the bowl, and beat together for about 3 min. Preheat the oven, gas mark 3/160C.
Use a small baking tray, grease it and line it with the baking paper. Pour the cake mixture into the baking tray.
Bake for about 30 min. or a bit longer, until the top is golden.Allow it to cool in the oven for a few minutes.
Next step: use a small wooden skewer or a toothpick or even a fork and prick the cake all over.

Now is the time to mix the lemon juice and the sugar.Keep the cake on the baking paper, to collect the juice.
Pour all the mixture over the cake , and leave it to cool properly. One hour should be enough.

Cut into squares , serve with vanilla or clotted cream ice-cream. 


Enjoy!


Saturday 19 October 2013

Cherry Cobbler.

I have been a cook for a long time now , but my baking skills have always been somewhat limited and I still have a lot to learn. So every time I try a new baking recipe and it works, I get very excited. It was just the same with this cherry cobbler recipe, I have been thinking for a while about making it, it was only a matter of finding a suitable recipe, the best one came from BBC-food website. Naturally, I slightly modified it , to suit my kitchen. As for the flavour , I used frozen cherries, by all means use any fruit or berry of your choice. On some american sites the recipes call for simple tinned fruit, so it could be as easy as that. The most delicious part of this pudding is the scone like topping, so keep an eye on it when baking , don't let it get too brown, it will dry out in that case, just cover it loosely with foil if that happens. This recipe is for 6 people, serve with vanilla or clotted cream ice-cream or cream.
For the cherry filling:
700 gr frozen cherries (slightly thawed)
juice of 1/2 lemon
2 tsp corn starch
35 gr dark brown sugar
a splash of rum (optional)
Put the cherries, lemon juice, sugar and rum into a saucepan , bring to the boil on a very low heat, during this the cherries will release the juice , set 1/4 cup of cherry juice aside.Simmer the cherries for about 10 min., mix the corn starch well with the cold juice and add it to the pot. Stir well, and watch the filling getting thicker (feel free to add more corn starch if the mixture is still rather runny). When this is done, pour the filling in the ovenproof dish and set aside.
For the cobbler filling:
230 gr self-raising flour
2 tsp baking powder
75 gr cold butter, cubed
100 gr caster sugar
100 ml milk
1 egg
1 tbsp of soft brown sugar(for sprinkling the top)
Preheat the oven gas mark 5/190C.
Put all the dry ingredients and the butter into a bowl of a food processor and using a blade setting whizz it all until it resembles fine breadcrums.

In a separate bowl mix the egg and milk well.
Add the mixture to the other ingredients and mix well.
That's it , the topping is ready. Now , using an ice-cream serving spoon, spoon the dough on top of the cherry filling, leaving a little space between the spoonfuls.Sprinkle the soft brown sugar over the cobbler.

Bake in the oven for 30-35 minutes , check after 15 min. When it turns golden , check it with a toothpick, it's ready when the stick comes out clean.Allow to stand for 10 min., serve when still warm.


 Enjoy!


Thursday 17 October 2013

Easy Lamb Stew.

Very, very easy. Put it together at the lunchtime , pop in the oven on very low for 3-4 hours, and just bake some potatoes or cook some rice to serve it with. This quantity serves 2 hungry adults!
300 gr stewing lamb
1 onion
1 carrot
1 tin of chopped tomatoes
1 tbsp paprika
salt to taste
4-6 black peppercorns
a splash of olive oil
Preheat your oven gas mark2/150C.
Oil the pan, grate the carrot , put the grated carrot in the pan, cube the meat and place it on the carrots, season with salt, place the peppercorns around the meat. Chop the onion and put it on top of the meat.
Sprinkle paprika over the onion, open the tomato tin and just pour it out on top of onion. Don't worry about mixing it, just cover and cook in the oven for a long time! So you can get on with your busy day and still have a nice dinner in the evening!

I would normally check the stew now and then, if the meat is ready earlier then anticipated , just switch off and reheat before serving. Also feel free to freeze or make it a day or two before , it tastes lovely later!
Enjoy!


Wednesday 16 October 2013

Buckwheat with Mushrooms and Leeks.

It does not get any more russian then this recipe. Buckwheat is a staple grain in russian cuisine, this is what we call kasha. Actually kasha is a collective name for any kind of cooked grain, but the buckwheat is the best of all. It's a fantastic alternative for rice, but , I believe, much healthier. I used to bring it from Russia, every time I visited my parents, well, now it's available in UK , check the deli shops or look it up on the internet, it's super cheap as well. As for the health benefits, my mother used to encourage me to eat my kasha , telling me that this is what  professional ballerinas eat. This was good enough for me! To this day, I have not checked this theory, as I don't actually know any professional russian ballerinas , although something tells me they probably don't use much butter in their recipe! There are two kinds of buckwheat: raw and toasted, both are fine, the only slight difference is that the toasted one is a bit "nuttier" to taste.
This recipe is great as a side dish for any kind of meat or fish, just don't forget sauce or gravy. For vegetarians I would recommend to pair it with ratatouille, simply delicious together!
This recipe is for two people.
1 mug of buckwheat
1 mug just boiled water
2 portobello mushrooms (you can use any kind of mushrooms, wild ones are the best)
1 medium leek
a splash of vegetable oil
a knob of butter
salt and pepper to taste
some chopped parsley


Wash the buckwheat under the running water, put the kettle on.
Pour the boiling water over the buckwheat.
You can boil it, but I prefer to cover it and wrap it with a towel and leave it for half an hour or so.
Drain all the extra liquid , if needed, set aside.
Heat up the oil in the pan, chop the mushrooms and the leek and saute them, until almost ready.
Stir in the buckwheat,the parsley and the butter.
Heat right through, season to taste and serve.
Enjoy!


Wednesday 2 October 2013

Cupcake Baking and Decorating Class with Angel Food Bakery.

I have to share a little story first: a few years ago I came across a tiny cupcake shop in the heart of Brighton, it was a small shop with just a couple of chairs and a counter.The cupcakes were just coming into fashion then and a lot of bakeries were doing them, but the Angel Food Bakery ones stood out, due to the wonderful flavours and the consistent quality. My 30th Birthday cake was indeed a massive Red Velvet cupcake with a couple of dozen regular cupcakes around it, my family and friends had it ordered at the Angel Food , knowing my love for Red Velvet! Fast forward a number of years and the bakery is still going strong and now they have expanded and sharing the cupcake knowledge with those who are wanting to learn a few tips! Naturally, I booked a class to attend , even better , the class took place on the eve of my husband's birthday! I got to make a dozen cupcakes: six vanilla and six chocolate ones. The decorating part was my favourite, I let my flamboyant side to take over completely ! I will not give a cupcake recipe here, as it a rather straightforward  one, and I already have a chocolate cupcake recipe on here. However, there are a few useful points I'd like to share with you.
Here we go:
Don't overbeat the mixture, if too much air gets in , the surface of a cupcake will not be smooth.It will be a bit trickier to decorate.
When we were making the chocolate ones the recipe called for a raising agent , not only a baking powder but also a pinch of baking soda were used. 


 Make sure to use to use proper small cupcake cases, and only fill up 3/4, as they will raise. We don't want muffin tops!

Moving on to the icing, I was responsible for a buttercream icing. Make sure that butter is super soft, and remember to sift the icing sugar.


When the time came to choose the colour for my icing, of course, I chose pink! I will be honest here, it was my first experience with food colouring, and as you can see it was a fun one!


 Another mistake that I've been making is not allowing the cupcakes to cool down on the rack , I was leaving them in the oven, that might make them a bit too dry.


I hope you enjoyed reading about the cupcakes and will have loads of fun making them yourselves!